
DIY – Winterize Your Yamaha Four-Cylinder Outboard
Credit: Yamaha Outboards
Yamaha offers a popular line of four-cylinder four-stroke outboards that are used in a wide range of single and twin installation applications, in both fresh and saltwater, all over the world. From pontoons to center consoles, bass boats to work skiffs and even water taxis, they are great performers and real workhorses. The most popular are the F90, F115 and F150 models, and many are used in climates where they are taken out of service for the winter months.
While there’s definitely merit in having your outboard winterized by a certified Yamaha dealer, the process is simple enough for owners to do themselves when armed with the right tools, products, and a bit of proper education. Pete Reils, a long-time certified Yamaha Technician at Garden State Marina in Pt. Pleasant, New Jersey, took the time to show us how he winterizes Yamaha outboards. The boat featured here is a late model Cobia® center console powered by a single Yamaha F150.
Prep Work
Prior to winterizing the outboard, it’s a good idea to give the boat a good cleaning inside and out, power wash the bottom, and put a coat of wax on fiberglass hulls.
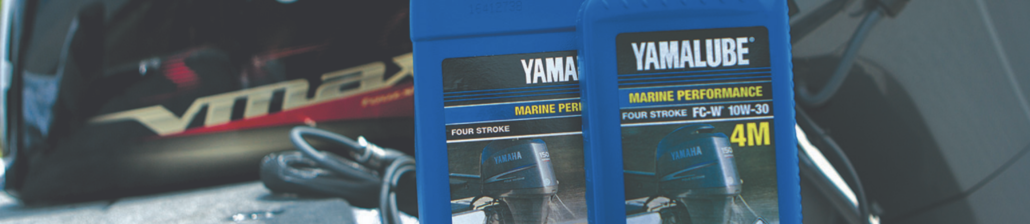
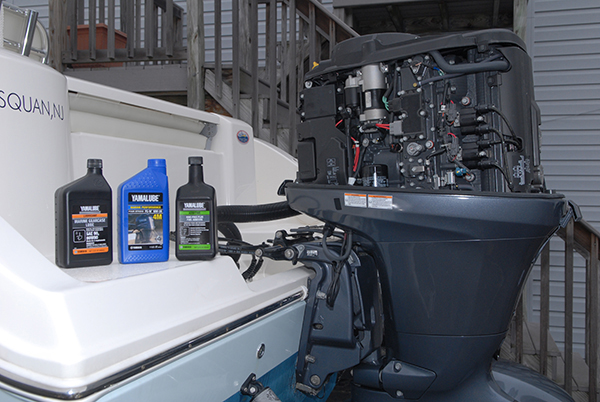
Before you get started, check out Yamaha’s Maintenance MattersTM publication under Extended Storage then put together a checklist of everything you’ll need, and be sure you have the proper Yamalube® lubricants, additives and filters for the job. (A list is available in your owner’s manual, and on our website at https://yamahaoutboards.com/
Draining the Oil
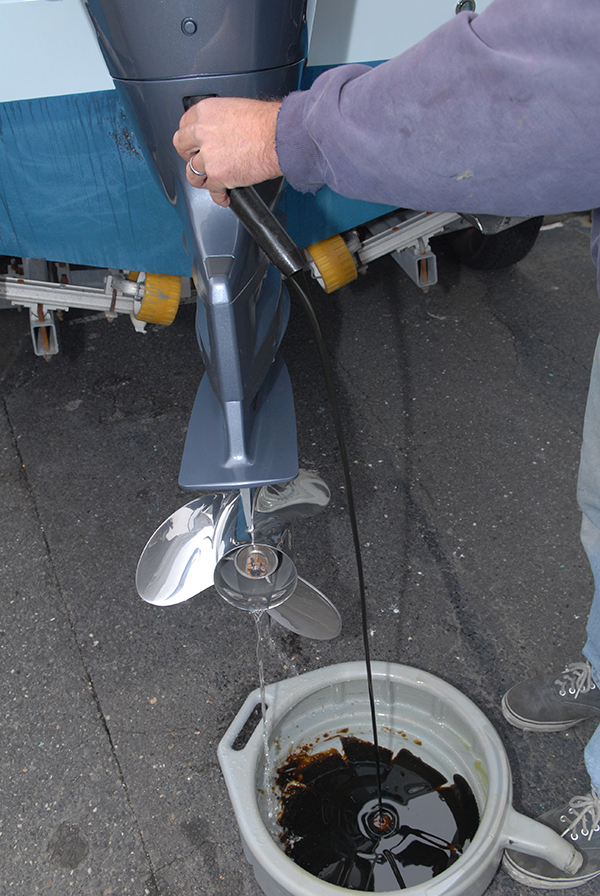
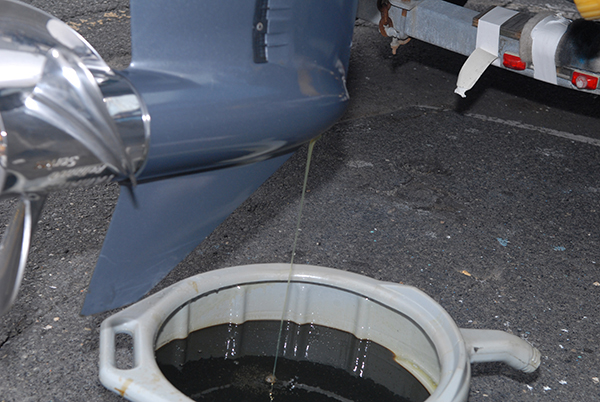
Pete’s process starts with changing the crankcase oil. Place an oil pan under the lower unit and with the engine trimmed all the way up, remove the drain plug located inside the rubber tube below the rear of the cowling (most mid-range models).
Pete places a piece of plastic tubing as an extension over the rubber tube to direct the oil into the pan. Lower the engine using the trim switch on the starboard side to start the oil flowing. After the oil has finished draining, replace the gasket on the drain plug and re-install the drain plug, tightening to spec (see Owner’s Manual).
Draining the Lower Unit
With the engine still down, slide an oil catch pan directly underneath the lower unit and remove both the vent screw and the drain screw on the starboard side of the lower unit to remove the old lubricant. Depending on the temperature of the air and the outboard, this may take a while. Be patient, until all the oil is drained. Check the old lubricant for any milky residue, which is an indication that water could be getting into the lower unit through a damaged seal. If this is found, it’s time to contact your authorized Yamaha Marine dealer for a seal replacement and a pressure test. Also, check for any large metal particles in the oil or adhering to the drain plugs (they’re magnetic). This would be a reason to see your dealer, too.
The most common cause of lower unit water ingestion is discarded fishing line caught behind the propeller. While you’re here, remove the propeller, remove any line or other debris, and grease the propshaft with Yamalube Marine Grease. Keep the prop off in a safe place until you’re ready to use it again.
Replacing the Oil Filter
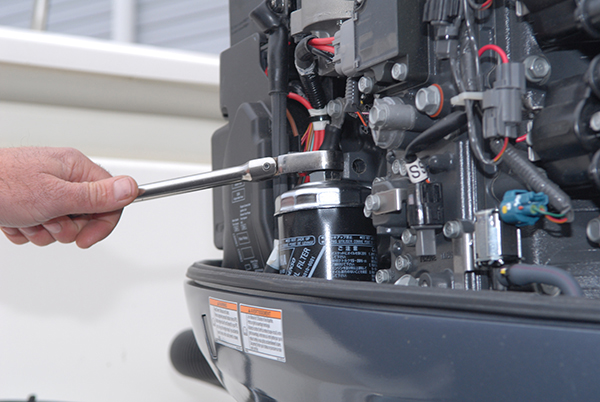
While the gearcase is draining, remove the engine oil filter found on the port side. You can use the Yamaha special tool like Pete or on these smaller engines, a simple strap wrench works fine. Just be careful not to disturb the oil sensor located on the block just above the filter.
Lubricate the rubber gasket on the new filter with a little fresh engine oil to assure a proper seal, and then install by hand tightening the filter to specification (the procedure and spec are printed on every Genuine Yamaha outboard oil filter).
Refill the crank case with the proper amount of Yamalube® engine oil (see owner’s manual).
Filling the Lower Unit
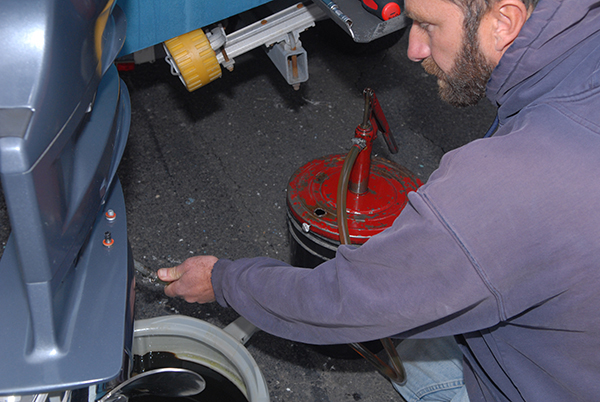
Now it’s time to refill the lower unit. Pete winterizes so many outboards he uses a bulk can of Yamaha lower unit lubricant with a pump, but you can use quarts and a hand pump available from your Yamaha dealer. Thread the fill hose into the drain plug hole and carefully pump in the lubricant until it starts weeping out of the upper vent. Pause for 5 minutes to allow all air to escape, then slowly pump additional lubricant until it comes out the vent hole again. Make sure to change the gaskets on both the vent and the drain plugs (do not reuse them).
Reinstall the vent plug until tight, then remove the fill hose from the bottom and reinstall the drain plug.
Fuel Filters
Now it’s time to turn your attention to the fuel system. First, carefully remove the 10-micron fuel/water separating the filter located in the boat (Yamaha’s is light blue) and discard filter and contents appropriate to your local regulations. Then, reinstall a new 10-micron canister, using another thin film of clean oil on the gasket surface.
Stabilizing the Fuel
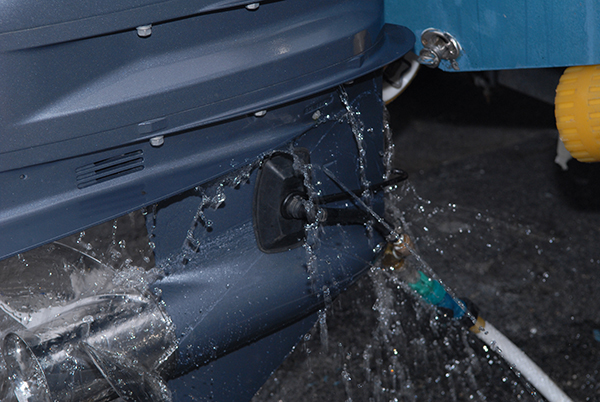
For the next step, Pete uses a portable fuel tank with a small amount of fresh gas treated with Yamalube® Ring Free, Yamalube EFI Fogging Oil and Yamalube Fuel Stabilizer and Conditioner. Start by placing a hose flusher over the main lower unit water pickups and turn on the water.
Disconnect the rubber fuel hose at the inlet side of the primary on-engine fuel filter by loosening the spring clamp with needle nose pliers and connect the hose from the portable tank. Pump a primer bulb installed in the portable tank’s fuel line until firm and then start the engine, after turning on the water. Run it for 10 minutes at fast idle until the mixture is thoroughly distributed throughout the fuel system and combustion chambers. This lubricates the injectors, valves, cylinder walls and piston rings for the long storage period ahead.
When 10 minutes are up, quickly rev the engine very briefly until you see a puff of smoke caused by the fogging oil exit through the prop hub and shut it down. Turn off the water and remove the flush muff. Remove the fuel hose from the portable tank and securely refit the onboard fuel hose.
Trim the engine fully “in” to drain the water from the cooling system and disconnect the onboard flushing hose so that it drains, too. Then reconnect.
Don’t Forget
- Tilt the engine up and use a grease gun charged with Yamaha marine grease to lubricate all grease fittings. There is one on each side of the steering slide forward of the engine, another found on the steering column, and one on the shift mechanism where the shift cables enter the cowling.
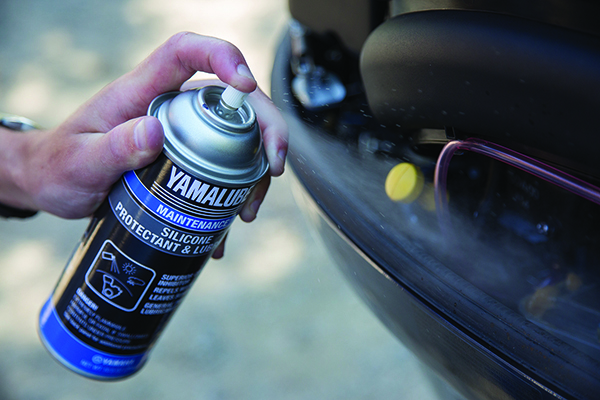
- Spray the engine and rubber components with a liberal application of Yamalube® Silicone Engine Protectant and Lubricant or YamaShield. Once the boat gets to its final winter resting spot, trim the engine full “in” for storage and disconnect the negative battery cable(s).
- Remove the battery or batteries to a cool (but not freezing), dry place. Charge the battery fully before storage.
- Return the cowling to its proper position and your outboard should be ready for winter storage and start up in the spring.
The typical Do-It-Yourself-er can usually complete the entire job in a couple of hours. Just be sure you have all the supplies you need on hand and take your time, covering all the steps.
You’ll find more information in Yamaha’s comprehensive “Maintenance Matters” publication, available at your nearest Yamaha Marine dealer or online at maintenance.yamahaoutboards.com.
Not a DIY’er? No worries. Just contact your local dealer and set up an appointment, but don’t wait too long. The threat of winter’s first freeze is almost always too late. Taking time now helps ensure good times come spring.

